Tips for Sanding Success

When it comes to restoration of segmental pavement, installing new clean joint sand that meets ASTM C-144 standard is a necessary part of the process to bring it back to its original condition.
The proper preparation and installation of either polymeric sand or joint sand with a joint stabilizing sealer will help resist sand washout, reduce weed growth and deter insect infestation. To ensure sanding success is achieved and the surface looks beautiful long term, here are some important steps to follow.
Remove Old Joint Sand
On a surface with failing joint sand, remove a minimum depth of one inch of the old sand with a pressure washer during the cleaning process.
Surface Must Be Dry
Allow the surface to dry for 24 hours after cleaning and/or rain, before installing new PolySweep polymeric sand or SEK joint sand.
Check The Weather Forecast
Check to make sure rain is not forecasted for 12 hours after installing PolySweep or 24 hours when a Trident joint stabilizing sealer will be applied. Trident’s Tsunami joint stabilizing sealer is an exception because it is rain safe in 90 minutes. PolySweep should be installed on an unfrozen surface and when the minimum temperature is above 35° F for 24 hours before and 48 hours after installation. Joint stabilizing sealers should be applied when day and night temperatures are between 40°F and 90°F.
Stage The Sand
Place the bags of sand evenly spaced throughout the project. After opening, drag the bag on the surface to empty it within a few feet of where the bag was originally placed. This will avoid unnecessary back strain and the need to push the sand long distances.
Sweep In Sand
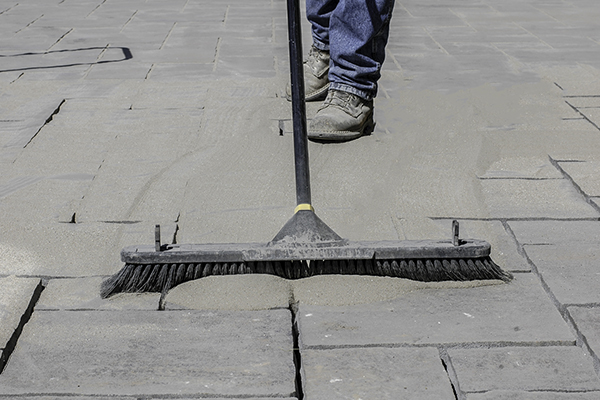
Sweep the sand with a clean stiff bristle broom into the joints until full.
Vibrate The Surface
This next step is important to create a solid stabilized sand joint. To eliminate any potential voids in the joint, consolidate sand by running a vibratory plate or roller compactor over the surface. In small areas or with natural stone, a hand tamper or a 2x4 piece of wood with rubber mallet can achieve similar results.
Add More Sand If Necessary
The correct sand height is 1/8" below the surface. If during the vibration process the sand is too low, repeat the process by adding more sand and vibrating the surface again. If the sand is too high a reservoir will not be created for the water when installing PolySweep or when applying a Trident joint stabilizing sealer to joint sand.
Remove Excess Sand
After the joints are filled to the required height, remove excess sand off the surface. Use a leaf blower on a slow idle to remove the residual sand and dust.
To complete the process, follow the instructions for activating PolySweep or applying a Trident joint stabilizing sealer.


